Home / Library / PIL / Handbook / Filter gallery

The filter gallery

Every filter in ImageFilter, applied to the same 420 by 280 picture. Generated with Pillow, not approximated.

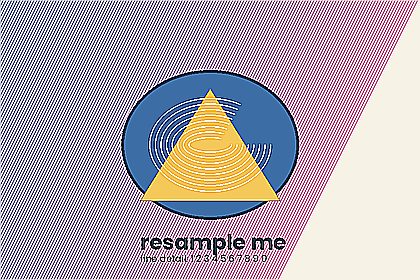
The original sample image, unfiltered

The original

Everything below starts from this

The adjustable filters

These take arguments, so you can tune the strength. For real work, use these.

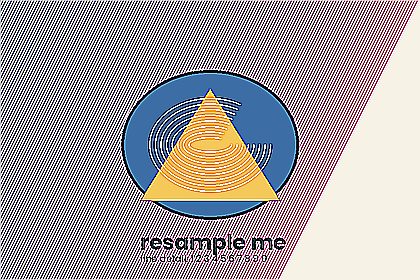
The sample image with the GaussianBlur(3) filter applied

GaussianBlur(3)

A proper Gaussian blur. The one to reach for
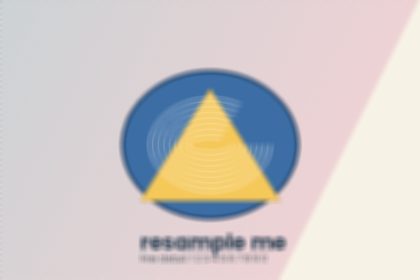
The sample image with the BoxBlur(3) filter applied

BoxBlur(3)

Cheaper than Gaussian, slightly blockier
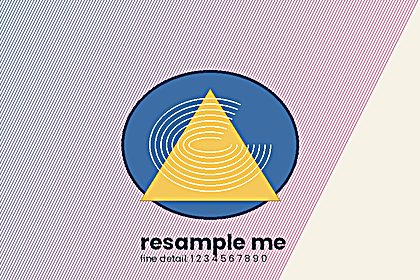
The sample image with the UnsharpMask(2, 150, 3) filter applied

UnsharpMask(2, 150, 3)

Sharpening with radius, strength and a threshold

The sample image with the MedianFilter(5) filter applied

MedianFilter(5)

Removes speckle while keeping edges

The sample image with the MinFilter(5) filter applied

MinFilter(5)

Erode. Dark areas grow

The sample image with the MaxFilter(5) filter applied

MaxFilter(5)

Dilate. Light areas grow

The sample image with the ModeFilter(5) filter applied

ModeFilter(5)

The most common value nearby. Good on flat art

The sample image with the RankFilter(5, 2) filter applied

RankFilter(5, 2)

The general form of the three above

The sample image with the Kernel((3,3), [0,-1,0,-1,5,-1,0,-1,0]) filter applied

Kernel((3,3), [0,-1,0,-1,5,-1,0,-1,0])

Your own 3 by 3 kernel

The fixed filters

No arguments, small built in kernels. Quick effects rather than tools.
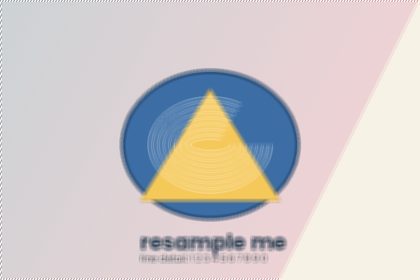
The sample image with the BLUR filter applied

BLUR

A fixed 5 by 5 blur. Mild, and not adjustable
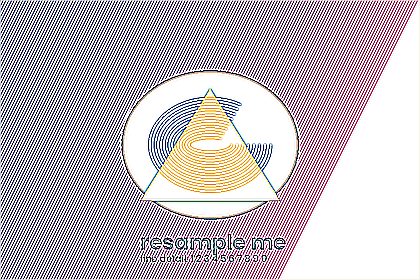
The sample image with the CONTOUR filter applied

CONTOUR

Outlines on white, like a pencil tracing
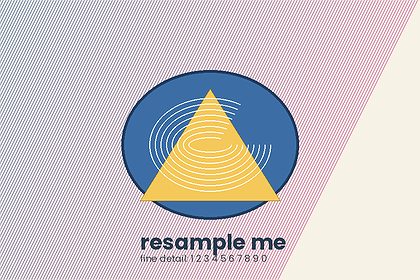
The sample image with the DETAIL filter applied

DETAIL

A gentle local contrast boost

The sample image with the EDGE_ENHANCE filter applied

EDGE_ENHANCE

Lifts edges a little

The sample image with the EDGE_ENHANCE_MORE filter applied

EDGE_ENHANCE_MORE

The same, harder

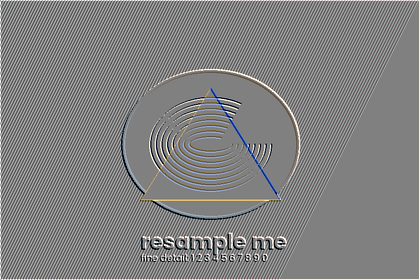
The sample image with the EMBOSS filter applied

EMBOSS

Flat grey with raised edges

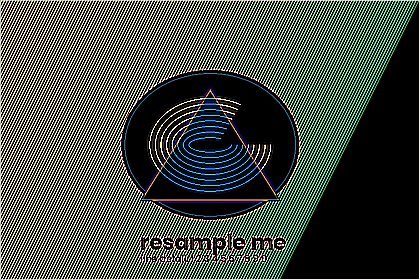
The sample image with the FIND_EDGES filter applied

FIND_EDGES

Edges only, on black

The sample image with the SHARPEN filter applied

SHARPEN

A fixed sharpen kernel

The sample image with the SMOOTH filter applied

SMOOTH

A light averaging

The sample image with the SMOOTH_MORE filter applied

SMOOTH_MORE

The same, stronger

How to apply one

from PIL import Image, ImageFilter

im = Image.open("photo.jpg")

soft = im.filter(ImageFilter.GaussianBlur(3))
crisp = im.filter(ImageFilter.UnsharpMask(radius=2, percent=150, threshold=3))
edges = im.filter(ImageFilter.FIND_EDGES)

The adjustable ones are called with arguments, the fixed ones are passed as they are. Both return a new image.

Which to use when

Filtering a mode P image filters the palette indexes rather than the colours, which produces nonsense. Convert to RGB first. See concepts.

The ImageFilter module page covers the arguments in detail.